Charging on the Go: Planning Your E-Dirt Bike Adventure
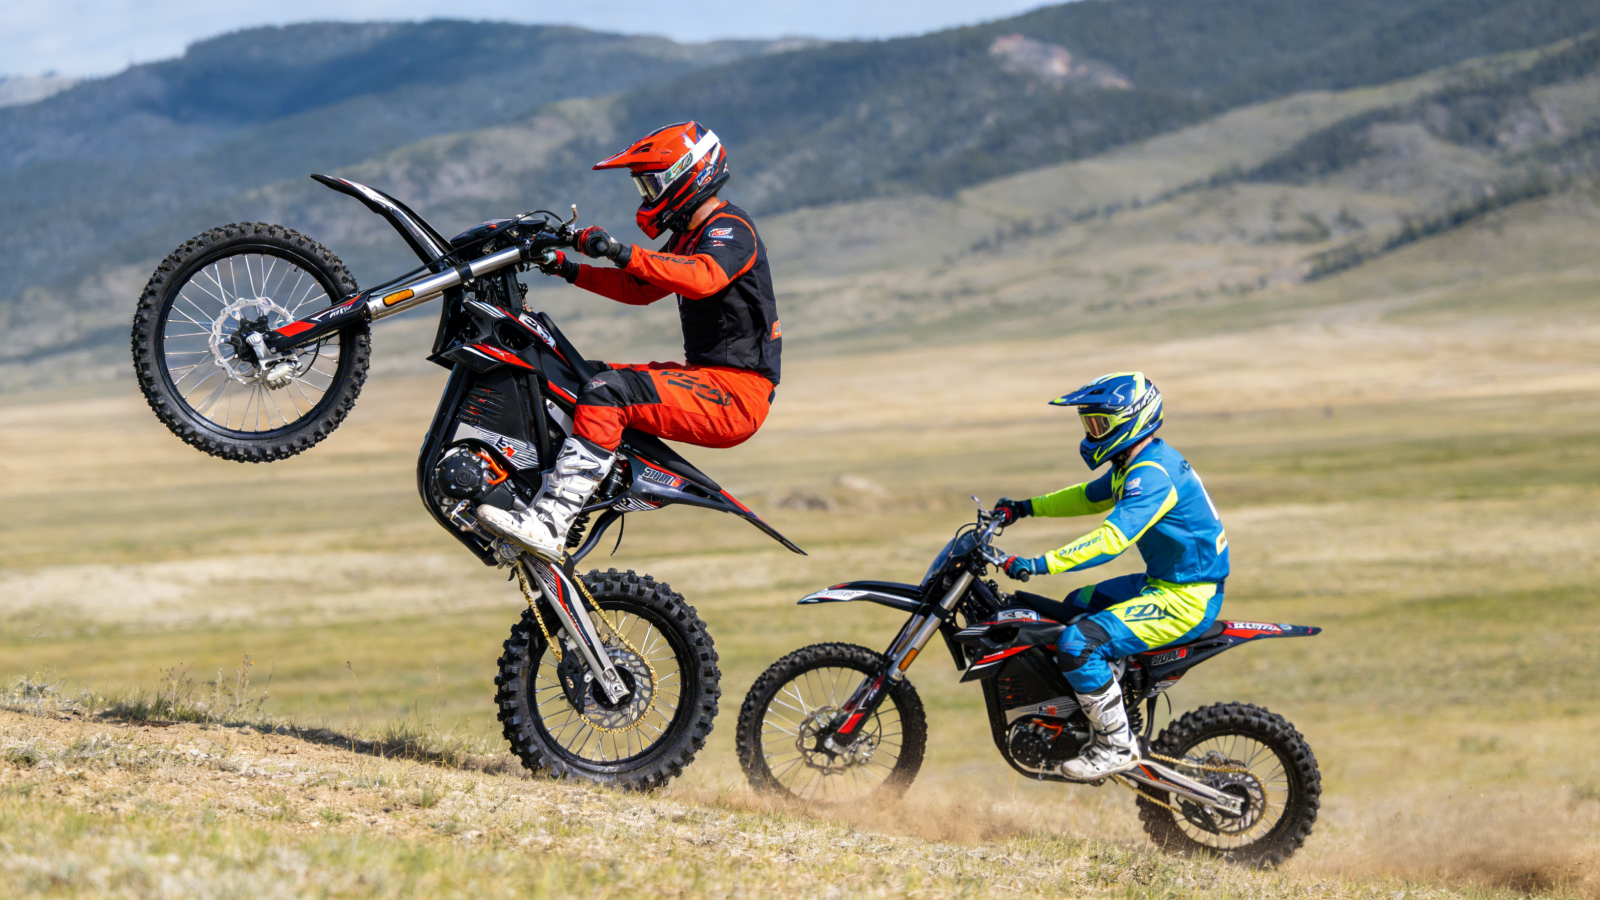
The call of the wild is changing. The roar of a gas engine is being replaced by the quiet, torque-filled whir of an electric motor. E-dirt biking is here, and it offers an incredible way to explore the backcountry with minimal noise and zero emissions. But for many, the biggest question remains: how do you keep the adventure going when you’re miles from the nearest power outlet?
The answer lies in smart planning. An e-dirt bike adventure isn’t just about picking a trail; it’s about mapping your energy source. Forget range anxiety—embrace range intelligence. Here’s your guide to planning an unforgettable, and fully charged, e-dirt bike journey.
1. Know Your Steed: The Fundamentals of Range
Before you plot a single waypoint, you must intimately understand your bike’s capabilities. “Range” isn’t a single number; it’s a variable influenced by:
- Battery Capacity: Measured in kWh (kilowatt-hours), this is your fuel tank. The larger it is, the farther you can go.
- Terrain: Climbing steep, technical hills drains the battery much faster than cruising on flat fire roads.
- Riding Style: Aggressive throttle use and high speeds are the quickest way to deplete your charge. A smooth, consistent pace is your best friend.
- Rider Weight and Gear: Added weight requires more energy to move.
- Temperature: Cold weather can reduce battery efficiency and regenerative braking performance.
Action Plan: Take your bike on local rides in similar conditions to your planned adventure. Note how much battery you use per hour or per mile. This real-world data is your most valuable planning tool.
2. The Art of the Charging Waypoint
This is the core of your strategy. You’re not just looking for trails; you’re scouting for outlets. Think of your route as a series of hops between charging opportunities.
- Destination Charging: This is your primary goal. Plan your day’s ride to end at a location with a power source. This could be:
- Campsites: Many modern campgrounds offer RV hookups (NEMA 14-50 outlets) or standard outlets. Book your site in advance and confirm power availability.
- Cafés, Pubs, and Small Towns: A growing number of businesses, especially in adventure-friendly areas, are installing EV chargers or are happy to let you plug in while you grab a meal. A few hours of Level 2 charging can add significant range.
- Friends or Family: Route your adventure to include a pitstop at a friend’s place for a full charge and a hot shower.
- Public EV Charging Networks: Apps like PlugShare are indispensable. Filter for J-1772 (Level 2) chargers near your trailheads or along your route. While DC Fast Charging is rare for e-dirt bikes (most don’t support it), a Level 2 charger can provide a crucial top-up.
3. Your Portable Power Kit: Freedom to Explore
Sometimes, the best trails are nowhere near a power outlet. This is where portable power solutions come in, offering true freedom.
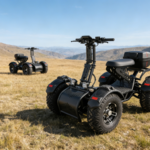
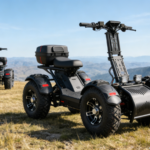
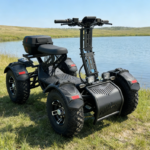
- The Portable Battery Bank (For Lightweight Bikes): Companies like Zero Motorcycles offer their own “Power Tanks,” and there are third-party options for bikes with removable batteries. These are essentially giant power banks that can give you an extra 20-30 miles of range.
- The Gas Generator (The Ultimate Insurance): For multi-day, deep-backcountry trips, a small, quiet inverter generator can be a game-changer. It allows you to charge anywhere you can safely carry it—a campsite, a remote clearing, etc. Be mindful of noise regulations and campground rules regarding generator use.
Pro Tip: If you’re vehicle-supported (e.g., with a truck as a base camp), a large portable power station (like those from Jackery or EcoFlow) charged via your car’s inverter or solar panels can serve as a silent, emission-free generator at camp.
4. Ride Smarter, Not Harder: Conserving Battery on the Trail
Your riding technique directly impacts your range. To maximize every electron:
- Embrace Regenerative Braking: Use it wisely. On long descents, it can put a surprising amount of energy back into the battery.
- Maintain Momentum: Instead of accelerating hard and braking, look ahead and carry your speed smoothly through corners.
- Go Easy on the Throttle: That instant torque is addictive, but it’s a battery killer. A gentle right hand is the key to long distances.
- Pre-Charge for Elevation: If you know you have a big climb ahead, make sure you start it with a healthy battery buffer.
Sample Adventure: A Two-Day Mountain Loop
- Day 1: Start from a campground with a full charge. Ride 40 miles of scenic forest trails to a small mountain town. Plug in at a Level 2 charger near a local brewery. Enjoy lunch for 2-3 hours, adding ~60% charge to the battery. Ride another 25 miles to a remote campsite, arriving with 30% battery. Use a portable power station to top up overnight.
- Day 2: Wake up to a 100% charge. Explore single-track loops directly from the campsite, using most of the battery. Return to camp, pack up, and ride the most direct 35-mile route back to the original campground, using regen on the downhill sections to extend range.
The Final Charge
Planning an e-dirt bike adventure requires a shift in mindset, from simply following a map to managing an energy ecosystem. But this extra layer of planning is deeply rewarding. It connects you to the landscape in a new way, encourages interactions with small communities, and allows you to experience the wilderness in its pure, silent state.
So, study your bike’s range, map your charging points, pack your power kit, and hit the trail. The future of off-road adventure is electric, and it’s waiting for you.
Ready to ride? Share your own e-dirt bike charging tips in the comments below!
Related searches for Electric Dirt Bikes for adults
Leave a Reply